Showing posts with label ice dyeing. Show all posts

Monday, June 3, 2013

Want to Give Ice Dyeing a Try?


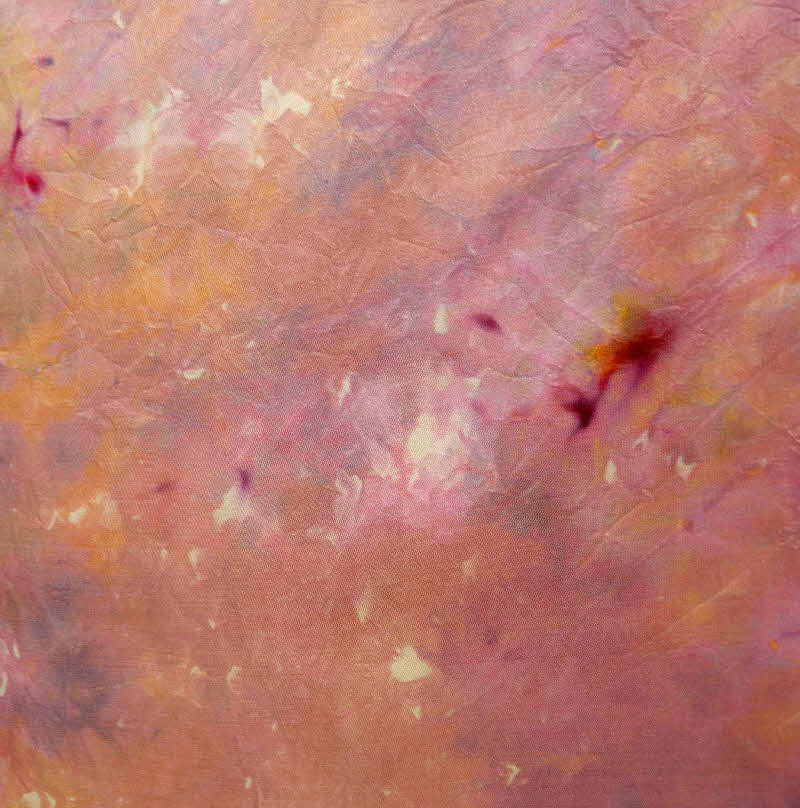
Ice dyeing with MX dyes produces beautiful patterns and vibrant color. It's a great substitute for snow dyeing and you can do it any time of year. What's so special about it, you ask? As the ice melts, it drips onto the cloth and dilutes the dye on some parts of the fabric.  This (along with the way the fabric is folded, scrunched and manipulated) contributes to the patterning.  It is especially interesting when you use mixed colors rather than pure colors.  They tend to break down into their component parts, resulting in rich color combinations.

Interested?  Join me next weekend, June 15 and 16th for an ice dyeing class in San Antonio. We'll explore several approaches to ice dyeing and you will leave with at least 4 yards of beautifully dyed fabric that can be used as-is for clothing, quilting or sewing projects or as the first layer for additional surface design techniques. (View photos of ice-dyed fabric.)

For more information or to sign up, visit the Southwest School of Art website.

Tuesday, July 24, 2012

Ice Dyeing Observations

I can't claim to be an expert on ice dyeing, since my first try was two weeks ago.  I have dyed about 15 yards of fabric using the technique, however, so I have learned a few things.

The Ice

It takes a lot of ice.  My freezer can't create cubes fast enough, so I had to buy it.  And the lack of room in my freezer limited how much I could do at one time. I actually found myself wishing I lived somewhere that had snow so I could dye as much as I wanted!

I only used whole ice cubes, so I can't comment on how the pattern is affected by using crushed ice. I like the results I got, so I never bothered to crush it. I did use several types and sizes of cubes and didn't really see much difference.  The tightness of the scrunching seemed to have more impact on the pattern.

I found it difficult to mound much ice on top of the fabric because I was using a flat surface, rather than a container with sides.Check out the Quilt or Dye blog for a great way to overcome that. I ended up with a lot of spaces between the ice cubes where the cloth was exposed.  More info under  The Dyes, as to why it matters.

The Dyes

I used mixed colors, since I read that they turn out more interesting that way.  It makes sense - the beauty is not only the patterning, but the way the colors break out and mix and mingle together. I tried the technique with both powder and liquid dye.  The powdered dye method did seemed to yield more complex and intriguing colors.

When I used liquid dyes, I mixed a very strong concentration - about 1 t dye to 2 oz. water. That resulted in medium value fabrics. When I used the powder dyes, I sprinkled on about 1 teaspoon total per yard. 

When using the powdered dyes, I ended up with spots of color where the dye powder landed directly on the fabric. You may find that desirable or not.  If not, use more ice and pile enough ice on top so that none of the fabric is directly exposed.

Flecks from powdered dye directly on fabric


The Fabric

I tried a variety of fabrics: cotton sateen, cotton printcloth, Kona, silk habotai, silk noil, cotton/silk charmeuse,dobby noil, and even a 50/50 poly cotton (I thought it was all cotton). The patterning came out with a softer edge on the silks than the cotton.  Both are beautiful, just different. As expected, the thinner fabrics have less patterning.

Silk habotai

Silk/cotton charmeuse

Silk dobby noil

Cotton


Time

I read that the color/pattern breakouts are due to the slow dyeing. Since I was doing it outside in 95 degree weather, it probably wasn't that slow.  It took from 1-2 hours for the ice to melt, and I let it batch for 3-4 hours after that.  I have not done any comparisons to see if longer batching time or longer time before the ice melts yields different color and pattern.  That will be my experiment for this fall/winter.

Wash-Out

I found very little excess dye run-off. I soaked the fabric in cold water for about 10 minutes.  Very little dye came out in the rinse after that soak.


Tuesday, July 17, 2012

More Ice Dyeing

I spent a few more days ice dyeing last week.  I'm really enthralled by the process.  It's my "new boyfriend", as Jane Dunnewold would say. Below are more photos of my results.  I have also documented the process for those of you who may not be familiar with it.  You can also google "ice dyeing" and you will find numerous tutorials and lots of ideas for alternate ways of setting this up.

Red violet and yellow green liquid dyes on cotton

Red, yellow and green powdered dyes on cotton sateen
Yellow and green powdered dyes on cotton
Blue and orange liquid dyes on silk/cotton
Tobacco, bronze and palomino gold powdered dyes on cotton
Red and green liquid dyes on cotton


This set up worked well.  I placed a tarp on the grass and anchored the corners into the ground. The fabric was raised above the surface with a plastic ceiling grid. The fabric was soda soaked and the dyes were applied while the fabric was damp.

The day the photos were taken, I used powdered dye sprinkled directly onto the ice cubes. Salt and pepper shakers work well for this. I used full size ice cubes made with ice cube trays.  The powdered dyes mix and mingle with the melting ice. Later in the week I experimented with different kinds of ice and with liquid dyes.
 

Once all the dye had been applied, I folded the tarp in half to keep the cloth damp.  This also proved helpful when the rain storm came through later that morning.


This is what the cloth looked like after the ice cubes melted.  Not very exciting.  But look at the finished cloth below.

Deep purple and jade green on silk dobby noil

Tuesday, July 10, 2012

Ice Dyeing


I'm a little late on the ice dyeing craze, and this may seem like a strange time to do it, but I finally made time to try it.  I read about snow dyeing several years ago and thought it sounded interesting, although not very practical for someone who lives in a warm climate.  Ice dyeing makes more sense, and summer is actually a good time, because the mess can stay outside.

The nudge to do this came when I was invited to participate in a friend's booth at the American Sewing Guild conference in August. She invited me to sell my books and DVDs and said that fat quarters would be great, too. Ice dyeing seemed the perfect way to create unique fabric for fat quarter sets.

After doing an internet search, I realize there are many variations. I chose to work with the dyes in their powdered state rather than mixing them into a liquid.  I placed a tarp on the ground outside and used a plastic grid from a commercial light fixture to raise the fabric out of the melting ice/dye. I didn't document the process, but I'm doing more later this week, so I'll take photos of my setup. At that time I'll also give more detail about the process I used.

I am pleased with the results, although I have to admit that while it was in process I was not impressed.  I had read some comments that the results are similar to what you get with low water immersion dyeing.  I found a significant difference.  The patterning is hard to describe, but it has a distinctive look. Here are my results (I used Dharma Bronze and ProChem Tobacco on all these pieces):


This is a full and detail shot of a piece of silk dobby noil (from Thai Silks). It is a wonderful fabric and it took the ice dyeing beautifully.


This is a heavy-weight cotton.  See how much difference in how the colors took?


This is silk habotai, and it was underneath the two previous fabrics to catch the dye as it dripped down. This looks like a typical low water immersion dye.


This is also cotton, and it was dry when I placed the ice cubes on top.  The other fabrics were all wet.


This piece was underneath the plastic grid to catch the drips from the previous cloth.


Have you tried ice and snow dyeing?  What was your experience?
Related Posts Plugin for WordPress, Blogger...