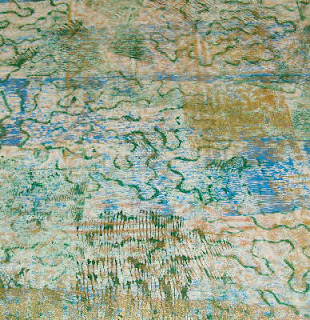
I taught a class on brayer printing last weekend at the Southwest School of Art. The brayer is my new favorite tool. Although I have used it for years, I've only recently come to fully appreciate what a versatile tool it is. It is a great way to transform fabric. It can be used with just about any medium, including paint, thickened dye, discharge agents and resists. You can achieve a variety of effects with a brayer all by itself. Then add some textured items into the mix and the possibilities are endless!
We started by comparing the marks made with a rubber brayer, a foam brayer and a napped brayer. Then we add texture by placing items under the fabric and brayering over them.
 |
| This fabric was scrunched, then brayer printed with a rug gripper and a piece of lacy fabric underneath. |
 |
| This fabric was brayer printed with rubber bands and egg noodles underneath. |
 |
| Detail view |
 |
| A rubber brayer created the yellow background pattern and the fabric was scrunched before being brayered with purple. |
 |
| Cathy adds some background color with dye. |
Here is how this piece looked Saturday morning.
And here is what it looked like on Sunday afternoon.
We also spent some time working with flour paste and gel glue resist. The resists were brayer printed , then dye was either brayered or painted on.
Sarah applies flour paste resist with a foam wall roller.
I'll be teaching a one day version of Boring to Beautiful at the Quilt Festival in Houston this year. Hope to see you there!


Oh looks like so much fun! I just bought a new brayer, a foam one with squiggle designs on it. It looks like you could do that with a regular smooth roller by cutting some shapes out of sticky backed craft foam and applying them to the roller. Hmm. Think I will try that. Want to?
ReplyDeleteYes, that would work. Plus then you could trade them out and make a variety of patterns with one brayer
ReplyDelete